To start working with hand-ins, you need to create the first hand-in and post it on your Learning Zone.
Create a new page with the Presenter editor or edit an existing page and create a new sub page.
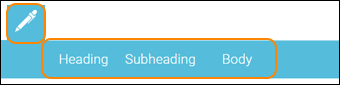
Use the text tool to make a heading and body text to add some instructions for the hand-in.
To add the hand-in functionality to the page, click on the tool Exercise with the icon of a check tic and choose the icon Hand-in.
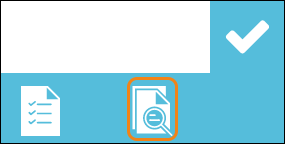
An object is placed on your page.
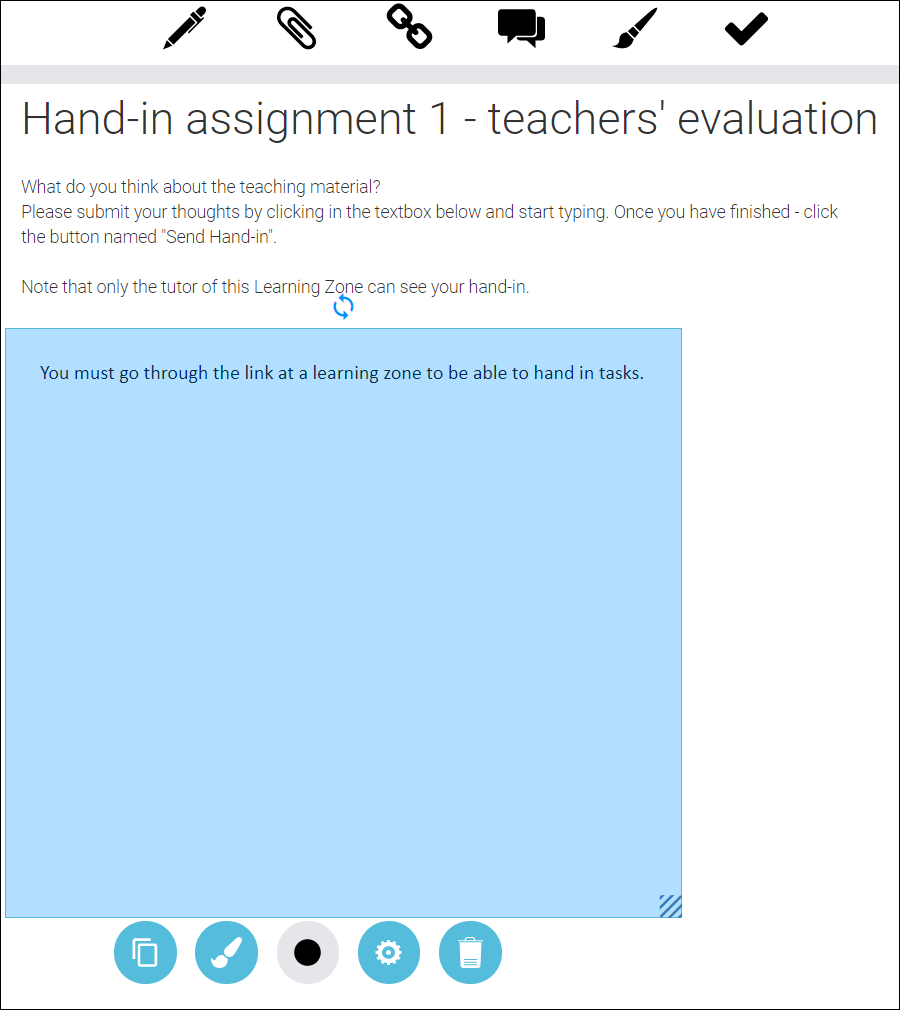
Please note! This object is a placeholder that shows you where your participants will be able to post their hand-ins. The functionality is only visible when you have completed all the steps below.
Now the hand-in has to be published on a Learning Zone. Locate and click the button Share to open up all the options available to you.
Choose the option Share to Learning Zone.
A dialogue window that lists all the Learnings Zones you have access to as a tutor (owner) opens up.
To post your material to a specific Learning Zone, locate and click the button Add page. When you click that button, your material is added to the specific Learning Zone. Once you are done, close the dialogue window to go back to edit mode.
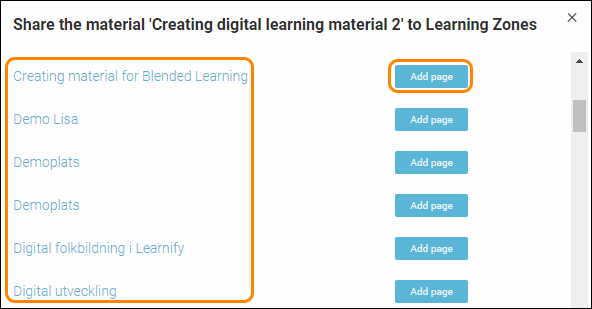
TIP! If you want to go to your Learning Zone to check how the material looks there, just click on the name of the Learning Zone after clicking Add page. That will take you straight to the Learning Zone in question and you’ll find your material added under the section “Content”.
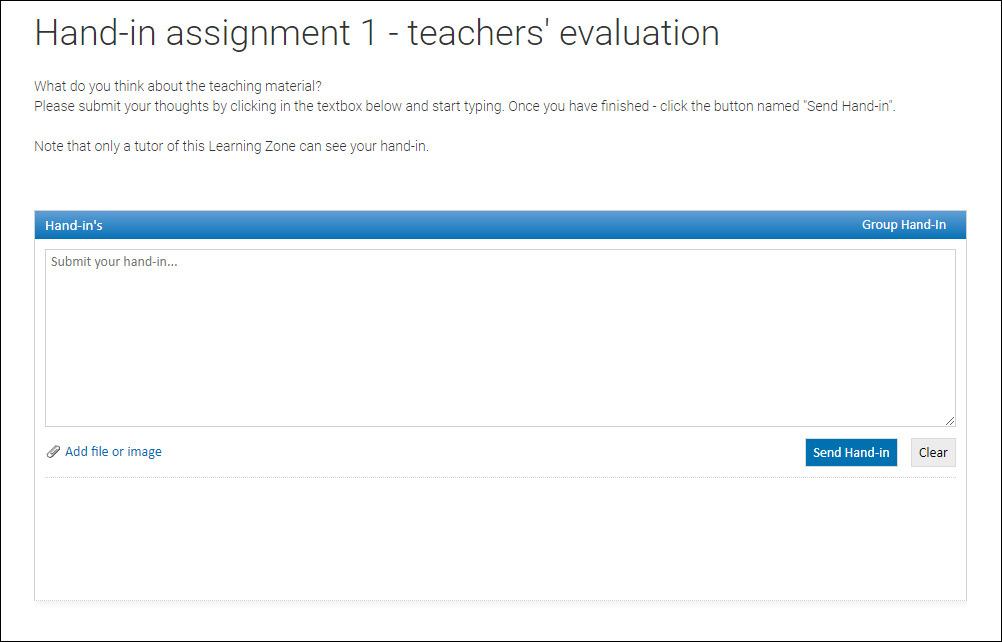
This is how the hand-in page can look when you open it from a Learning Zone.
0 Kommentarer