You can add shapes to your page. Add them for example as page breakers, callouts or backgrounds for your objects.
Locate and click the tool Add shapes - the icon that looks like an art brush and choose one of the options available to you.
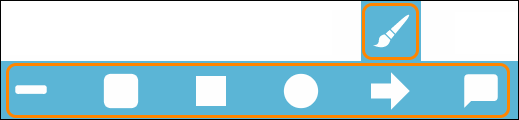
We’ll go through 2 of the options below. They all work in the same way.
Line
Locate and click the tool Add shape and choose the option Line.
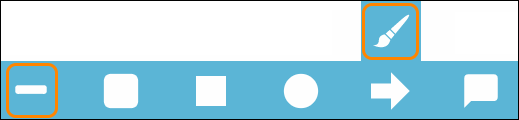
An object is placed on your editing area.
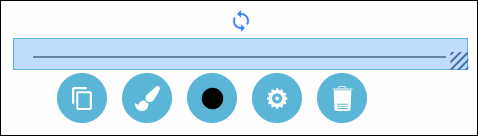
The revolving arrows let you Rotate the object. Simply hold down your left mouse button on the arrows and drag the mouse to rotate the object.

The striped icon in the bottom right-hand corner of the object lets you change the size of the object. Simply hold down your left mouse button on the arrows and drag the mouse diagonally to your right to change the size.

To edit your object, double click on it.
To save your changes, click anywhere on the editing area, outside the object.
To move your object, drag and drop it with the help of your mouse and place your object anywhere on the white editing area.
All settings for your object - see the guide “Settings for your object”.
Rectangle with rounded edges
Locate and click the tool Add shape and choose the option Rectangle with rounded edges.
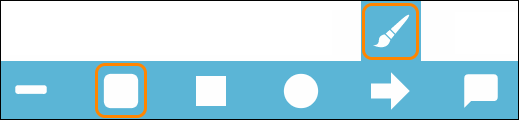
An object is placed on your editing area.
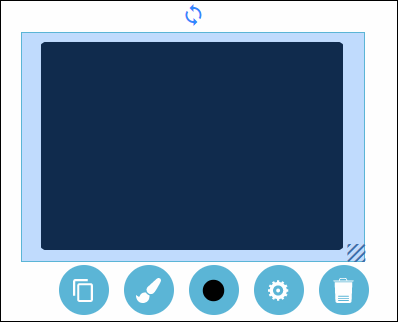
TIP! Use the round button with a black circle to change the colour on your shape object.
The revolving arrows let you Rotate the object. Simply hold down your left mouse button on the arrows and drag the mouse to rotate the object.
The striped icon in the bottom right-hand corner of the object lets you change the size of the object. Simply hold down your left mouse button on the arrows and drag the mouse diagonally to your right to change the size.
To edit your object, double click on it.
To save your changes, click anywhere on the editing area, outside the object.
To move your object, drag and drop it with the help of your mouse and place your object anywhere on the white editing area.
All settings for your object - see the guide “Settings for your object”.
TIP! To use a shape as a background for a textbox, for example, use the object button ”Settings” to adjust the order of the objects, using the option ”Layers”.
For more details see the guide ”Settings for your object”.
0 Kommentarer